Removing SNS nails at home can be a breeze if you do it the right way. Many people choose this option because it’s convenient, saves money, and is totally doable. But here’s the deal: you gotta follow the right steps to keep your natural nails in tip-top shape and avoid any discomfort.
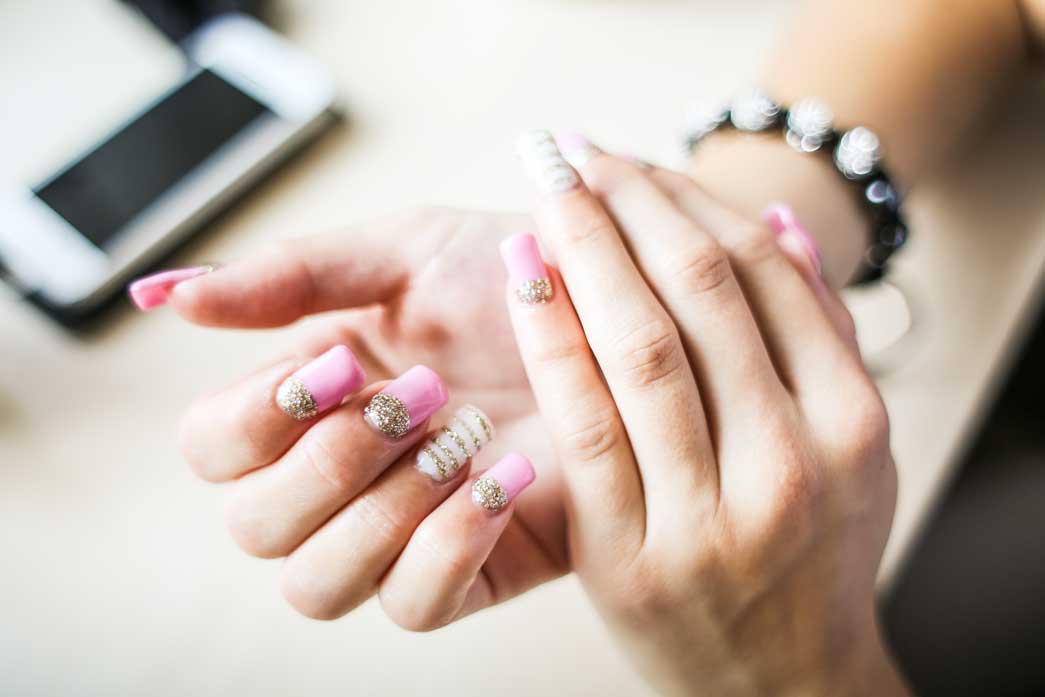
Let’s talk about SNS nails for a second. SNS stands for "Soak-Off Nail System," and they’ve become super popular because they’re durable and easy to remove. Unlike traditional gel nails, SNS nails are made to be soaked off, making them a go-to choice for anyone who wants a hassle-free removal process. No more chipping away at your nails or using harsh chemicals.
In this guide, we’re going to walk you through everything you need to know about removing SNS nails safely at home. Whether you’re a total beginner or you’ve done it before, this article’s got all the info you need for a smooth, damage-free removal. Let’s dive in!
Read also:The Ultimate Guide To Nfl Games History Rules And Excitement
Table of Contents
- Understanding SNS Nails
- Tools You’ll Need
- Step-by-Step Process to Remove SNS Nails
- Common Mistakes to Avoid
- Alternatives to Removing SNS Nails at Home
- Tips for Maintaining Healthy Nails
- Why Soaking Off SNS Nails Is Safe
- How Long Does It Take to Remove SNS Nails?
- Can You Use Acetone for SNS Nails?
- Is It Better to Remove SNS Nails at a Salon?
Understanding SNS Nails
SNS nails are a type of gel polish system that’s applied to your nails and cured under a UV or LED lamp. What makes them different from traditional gel nails is that they’re designed to be soaked off, making removal way easier. This system’s a favorite because it gives you that long-lasting shine and durability without the need for harsh chemicals when it’s time to take them off.
Why Soaking Off SNS Nails Is Safe
One of the coolest things about SNS nails is that you can safely remove them at home without wrecking your natural nails. The soaking process involves using a specialized soak-off gel remover that gently softens the gel polish, allowing it to slide right off. This is way better than using acetone, which can dry out your nails and cuticles.
Here’s why soaking off SNS nails is such a great option:
- It minimizes damage to your natural nails.
- It reduces the risk of splitting or cracking your nails.
- It doesn’t rely on harsh chemicals that can hurt your nails.
Tools You’ll Need
Before you start, it’s super important to gather all the tools you’ll need. Having everything ready will make the process smoother and faster. Here’s what you’ll need:
- Soak-off gel remover (this is key!)
- Cotton pads or balls (the softer, the better)
- Aluminum foil (you’ll need this to create a seal)
- Cuticle pusher or orange stick (for gentle removal)
- Nail file or buffer (a fine-grit one works best)
- Cuticle oil or moisturizer (to keep your nails hydrated)
How Long Does It Take to Remove SNS Nails?
The time it takes to remove SNS nails can vary depending on how thick the gel polish is and how effective your soak-off gel remover is. On average, you’re looking at about 15-20 minutes per hand. Patience is key here—don’t rush the process or you might end up damaging your nails.
Step-by-Step Process to Remove SNS Nails
Now that you’ve got all your tools ready, let’s break down the process step-by-step:
Read also:Unlock Your Digital Potential With Viralkandcom
Step 1: Prep Your Tools
Make sure all your tools are clean and ready to go. This will help you stay organized and avoid any delays during the process. Trust me, being prepared makes a huge difference.
Step 2: Soak Off the Gel Polish
Apply a generous amount of soak-off gel remover to a cotton pad and place it on each nail. Then, wrap each nail with aluminum foil to create a seal. This will allow the remover to do its job effectively.
Step 3: Let the Gel Soften
Give your nails a good 10-15 minutes to soak. This gives the remover enough time to soften the gel polish, making it a whole lot easier to remove. Don’t skip this step—it’s crucial!
Step 4: Gently Wipe Away the Gel
After the soaking time is up, gently wipe away the softened gel polish using a cuticle pusher or orange stick. Be super careful not to apply too much pressure, as this can damage your natural nails. Take your time and be gentle.
Step 5: File the Remaining Gel
If there’s any gel left behind, use a fine-grit nail file to gently buff it away. Avoid using a coarse file, as it can scratch your nails and weaken them. A light touch is all you need here.
Step 6: Moisturize Your Nails
Once you’re done, finish up by applying cuticle oil or moisturizer to your nails and cuticles. This will help restore hydration and keep your nails healthy and strong. Hydration is key, folks!
Common Mistakes to Avoid
Removing SNS nails at home is pretty straightforward, but there are a few mistakes people often make. Here’s what to watch out for:
- Using acetone instead of soak-off gel remover (big no-no).
- Rushing the soaking time (patience is your friend).
- Applying too much pressure when wiping off the gel (go easy).
- Forgetting to moisturize after removal (your nails will thank you).
Alternatives to Removing SNS Nails at Home
If you’re not feeling confident about removing your SNS nails at home, there are other options. You can always visit a professional nail salon. Salon techs have the expertise and tools to ensure a safe and damage-free removal. Of course, this option might cost you a bit more, but it’s worth it if you want peace of mind.
Can You Use Acetone for SNS Nails?
While acetone can remove traditional gel nails, it’s not the best choice for SNS nails. SNS nails are specifically designed to be soaked off with a specialized remover, which is much gentler on your nails. Using acetone can dry out your nails and cuticles, leading to potential damage. Stick with the soak-off method—it’s safer and more effective.
Tips for Maintaining Healthy Nails
Once your SNS nails are gone, it’s important to take care of your natural nails to keep them healthy and strong. Here are some tips to help you do just that:
- Moisturize your nails and cuticles regularly to keep them hydrated.
- Always use a base coat before applying polish to protect your nails.
- Avoid biting or picking at your nails—it’s a bad habit that can weaken them.
- Eat a balanced diet rich in vitamins and minerals to support nail health.
Is It Better to Remove SNS Nails at a Salon?
Removing SNS nails at a salon can be a great option for those who don’t feel comfortable doing it themselves or don’t have the right tools. Salon techs are trained professionals who can ensure a safe and efficient removal. But if you follow the steps in this guide and have the right tools, removing SNS nails at home can be just as effective. It’s all about what works best for you.
Kesimpulan
At the end of the day, removing SNS nails at home can be a safe and effective process if you do it the right way. By following the steps in this guide and avoiding common mistakes, you can have a smooth and damage-free removal experience. Always remember to prioritize the health of your natural nails and take good care of them after removal.
Feel free to share your experience or ask any questions in the comments section below. And don’t forget to check out our other articles on nail care and beauty for more helpful tips. Thanks for reading, and happy nail care!