Hey there, friend! Let’s dive into the world of IoT and explore how you can connect your devices via SSH over the internet using AWS on Windows. This guide will walk you through every step, making sure your devices are secure and accessible from anywhere. If you’re ready to level up your IoT game, this is the perfect place to start.
Listen up, because the Internet of Things (IoT) is growing faster than ever. Whether you’re managing smart home systems, industrial equipment, or anything in between, having the ability to remotely monitor and manage these devices is a game-changer. By learning how to connect SSH IoT devices over the internet using AWS on Windows, you’ll unlock a whole new level of flexibility and control. This guide will make sure you’re not just doing it but doing it right—securely and efficiently.
Throughout this article, we’ll break it all down for you. From setting up your AWS environment to fine-tuning your IoT devices for secure SSH access, we’ll cover everything. By the time you’re done reading, you’ll have the confidence and tools to connect your SSH IoT devices over the internet using AWS on Windows like a pro. Let’s get started!
Read also:Rhea Ripley The Rise Of A Wrestling Icon
Table of Contents
- Introduction to SSH
- AWS Overview
- IoT Device Setup
- Windows Configuration
- Security Best Practices
- Connecting IoT Devices
- Troubleshooting Tips
- Advanced Features
- Frequently Asked Questions
- Conclusion
What Is SSH, and Why Does It Matter for IoT?
Alright, let’s talk about SSH—or Secure Shell. Think of SSH as the superhero of secure communication. It’s a cryptographic network protocol designed to keep data safe when it’s traveling between two computers over the internet. When it comes to IoT devices, SSH is your best friend because it ensures that everything stays confidential and protected from prying eyes.
Why Should You Use SSH for IoT Devices?
- SSH encrypts all communication, making it nearly impossible for hackers to intercept your data. That’s peace of mind right there.
- It lets you access your devices remotely without exposing sensitive information, which is crucial for IoT setups.
- And guess what? SSH works seamlessly across different platforms, whether you’re using Windows, Linux, or macOS.
Key Benefits of Using SSH for IoT Devices
Here’s the deal: using SSH for your IoT devices offers some serious advantages:
- Secure remote access—no more worrying about unauthorized access.
- Automated scripting and command execution, which saves you time and effort.
- Ironclad protection against hackers, keeping your devices and data safe.
Why AWS Is Your Go-To Platform for IoT
Amazon Web Services (AWS) is like the Swiss Army knife of cloud platforms. It offers a ton of tools and services that make managing IoT devices a breeze. When it comes to connecting SSH IoT devices over the internet using AWS on Windows, AWS has everything you need to simplify the process.
Key AWS Services for IoT
Here are some of the standout AWS services that will help you connect your IoT devices:
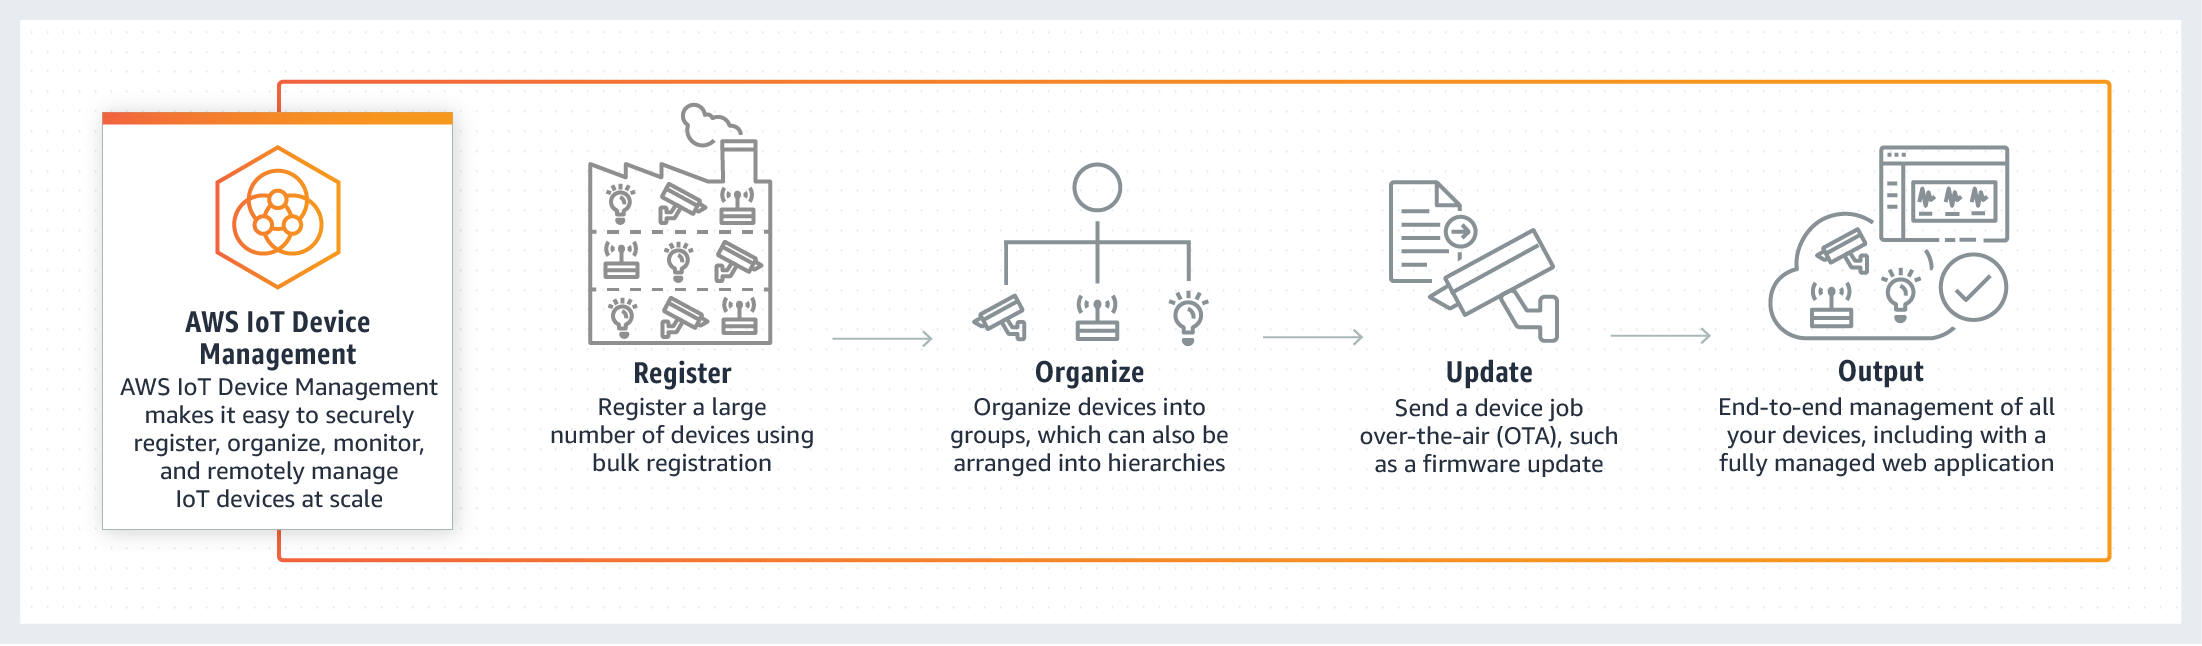
- AWS IoT Core: This is the heart of AWS’s IoT offerings. It’s a managed cloud service that lets your devices interact with cloud apps and other devices securely. Think of it as the traffic cop for your IoT setup.
- AWS EC2: Need a powerful server in the cloud? AWS EC2 has got you covered. It provides scalable compute capacity, making it perfect for hosting SSH servers.
- AWS Lambda: This serverless compute service runs your code automatically in response to events. It’s like having a personal assistant that takes care of tasks for you without needing constant supervision.
Setting Up Your IoT Devices for Success
Before you can start connecting your IoT devices via SSH over the internet using AWS on Windows, you’ll need to make sure they’re all set up properly. Don’t worry—we’ll walk you through it step by step.
Read also:Germanys Stand Against Putin A Closer Look
Steps to Configure Your IoT Devices
- First things first: install the necessary firmware on your IoT device. This ensures it’s running the latest software and is ready to go.
- Next, set up network connectivity. Your device needs to be able to access the internet, so make sure it’s connected to your Wi-Fi or Ethernet.
- Finally, enable SSH on your IoT device and tweak your firewall settings to allow SSH traffic. This step is critical for ensuring secure communication.
Once your IoT device is all set up, it’s time to move on to configuring your Windows environment. Let’s keep rolling!
Getting Your Windows Environment Ready
Configuring your Windows environment to connect SSH IoT devices over the internet using AWS involves a few key steps. Don’t worry—it’s easier than it sounds. Let’s break it down.
Installing the SSH Client on Windows
Good news: Windows 10 and later versions come with an integrated OpenSSH client. Here’s how you enable it:
- Open the Start menu and head to Settings.
- Select “Apps” and click on “Optional features.”
- Click “Add a feature” and search for “OpenSSH Client.”
- Select it and click “Install.” You’re all set!
Connecting to Your AWS EC2 Instance
Now that you’ve got your SSH client ready, it’s time to connect to your AWS EC2 instance. Here’s how:
- Open the Command Prompt or PowerShell.
- Use the following command to connect:
ssh -i "your-key.pem" ec2-user@your-ec2-public-dns. - Follow the prompts to establish the connection. You’re almost there!
Securing Your IoT Setup Like a Pro
Security is non-negotiable when you’re connecting SSH IoT devices over the internet using AWS on Windows. Here are some best practices to keep your setup locked down tight:
Using SSH Key Authentication
Instead of relying on passwords, consider using SSH key authentication. This method uses a public-private key pair to verify your identity. It’s way more secure and eliminates the risk of weak or compromised passwords.
Staying Up to Date
One of the easiest ways to protect your IoT devices is by keeping their firmware and software up to date. Regular updates patch vulnerabilities and keep your devices running smoothly. It’s like giving your setup a regular check-up to make sure everything’s in tip-top shape.
Bringing It All Together: Connecting Your IoT Devices
With your AWS environment and IoT devices all configured, it’s time to connect them. Let’s wrap up the process:
Steps to Connect Your IoT Devices
- Log in to your AWS EC2 instance via SSH. You’ve got this!
- Set up a secure tunnel between your IoT device and the EC2 instance. This ensures that all communication is encrypted and protected.
- Test the connection to make sure everything’s working as expected. A quick test now can save you headaches later.
Troubleshooting: Fixing Common Issues
Even with the best-laid plans, things can go wrong. Here are some common issues you might encounter and how to fix them:
Common Issues and Solutions
- Connection Refused: Double-check your firewall settings to make sure the necessary ports are open. Sometimes a small tweak can make a big difference.
- Authentication Failure: Verify that your SSH keys are correctly configured and match between your devices and AWS instances. A mismatch here can stop you in your tracks.
- Timeout Errors: Check your network connectivity to ensure your devices have stable internet access. A weak connection can cause all sorts of headaches.
Taking Your IoT Setup to the Next Level
Once you’ve got your SSH IoT devices connected over the internet using AWS on Windows, you can explore some advanced features to take things even further:
Automating Tasks with AWS Lambda
AWS Lambda is like having a personal assistant for your IoT devices. You can set up Lambda functions to automate tasks and respond to events automatically. For example, you could configure a Lambda function to send alerts when certain conditions are met on your devices. It’s like having a security guard that never sleeps!
Monitoring and Logging with AWS CloudWatch
AWS CloudWatch gives you powerful tools for monitoring and logging. You can track the performance and activity of your IoT devices and AWS instances in real time. This lets you spot issues before they become problems and optimize your setup for peak performance.
Frequently Asked Questions
Q1: Can I Connect Multiple IoT Devices Using This Method?
Absolutely! You can connect as many IoT devices as you need by setting up additional SSH tunnels or using AWS IoT Core to manage multiple devices at once. The sky’s the limit!
Q2: Is SSH the Only Option for Securing IoT Devices?
Nope! While SSH is a popular and effective choice, other protocols like HTTPS and MQTT can also be used depending on your specific needs. It all depends on what works best for your setup and use case.
Q3: How Can I Ensure the Security of My IoT Devices?
Here are some top tips to keep your IoT devices safe:
- Implement SSH key authentication for rock-solid security.
- Regularly update your firmware and software to patch vulnerabilities.
- Use secure protocols like TLS to protect your data in transit.
Wrapping It Up
Connecting SSH IoT devices over the internet using AWS on Windows is a powerful way to manage and monitor your devices remotely. By following the steps in this guide, you’ll be able to set up a secure and reliable connection that meets your needs. You’ve got the tools and the knowledge—now it’s time to put them to work!
Take Action: Share your experience in the comments below or check out other articles on our site for more insights into IoT and cloud computing. Together, let’s build a smarter, more connected world—one device at a time!