Secure Shell (SSH) is like the Swiss Army knife of remote access tools, letting you manage your IoT devices from anywhere in the world. Whether you're running Ubuntu, Windows, or anything else, SSH encrypts your connection to keep your data safe. If you're ready to set up SSH for your IoT devices without spending a dime, this guide will walk you through it like we're having a conversation over coffee.
Listen up, folks. In this hyper-connected world, IoT devices are everywhere—from your smart fridge to industrial robots. Managing these gadgets remotely can feel like herding cats without the right tools. That's where SSH comes in. It's reliable, secure, and free. This article will teach you everything you need to know about setting up SSH for IoT devices, from configuring it on Ubuntu and Windows to troubleshooting common hiccups. By the end, you'll be a pro at managing your IoT devices from anywhere.
Table of Contents
- What is SSH?
- Why Use SSH for IoT?
- Setting Up SSH on Ubuntu
- Setting Up SSH on Windows
- Securing Your SSH Connection
- Remote Access for IoT Devices
- Troubleshooting Common Issues
- Best Practices for Using SSH
- Alternative Tools to SSH
- Conclusion
What Exactly is SSH Anyway?
Let me break it down for you. SSH, or Secure Shell, is a network protocol that's like a secret tunnel for your data. It lets you run commands and transfer files between computers securely, even over sketchy networks. Think of it as a superhero for remote server management. And guess what? It works just as well for IoT devices.
Read also:Deshaun Watsons Ring Game A Closer Look At His Bling Empire
Here's what makes SSH so cool:
- Encryption: SSH wraps your data in a secure blanket, keeping prying eyes out.
- Authentication: It's like a bouncer at a club—SSH makes sure only the right people get in.
- Portability: Whether you're rocking Linux, macOS, or Windows, SSH has got your back.
For IoT enthusiasts, SSH is a lifesaver. Imagine troubleshooting your smart thermostat from halfway across the globe. SSH makes that possible, even when you can't physically touch the device.
Why Should You Use SSH for IoT?
Let’s face it—IoT devices are everywhere, and managing them remotely is a must. But why choose SSH over other options? Here's why:
- Security: SSH encrypts everything, so no one can snoop on your data.
- Reliability: SSH connections are rock-solid, even if your Wi-Fi decides to throw a tantrum.
- Flexibility: Need to run commands or transfer files? SSH does it all, making it perfect for IoT devices.
- Cost-Effective: SSH is free and open-source, so you don’t have to break the bank.
With SSH, you can keep your IoT devices running smoothly from anywhere in the world. It's like having a remote control for your entire smart home or office setup.
Setting Up SSH on Ubuntu: Easy as Pie
Installing the SSH Server
Setting up SSH on Ubuntu is as simple as following a recipe. Here's how you do it:
- Fire up the terminal on your Ubuntu machine. It's your command center for this task.
- Run this command to install the SSH server:
sudo apt update && sudo apt install openssh-server. This will grab everything you need. - Once the installation finishes, check if the SSH service is up and running by typing:
sudo service ssh status. If it says "active," you're good to go!
Configuring SSH for Your Needs
Now that SSH is installed, let's tweak it to fit your setup. The config file lives at /etc/ssh/sshd_config. Here are a few things you might want to change:
Read also:The Tragic Loss Of King Von A Closer Look At His Life Death And Legacy
- Port Number: Tired of using the default port 22? Switch it up to something custom for an extra layer of security.
- Authentication Methods: Passwords are so last year. Ditch them and use SSH keys for a more secure login.
- Logging: Want to keep an eye on who’s logging in? Increase logging verbosity to track SSH activity.
Setting Up SSH on Windows: No Sweat
Enabling the SSH Client
Windows 10 and later come with SSH built-in. Here's how to turn it on:
- Head over to Settings > Apps > Optional Features. This is where the magic happens.
- Click on Add a feature and search for "OpenSSH Client." When you find it, select and install it.
Using the SSH Client Like a Pro
With the SSH client installed, you're ready to connect to remote devices. Open the command prompt or PowerShell and type this command:
ssh username@ip_addressSwap "username" with your username on the remote device and "ip_address" with the actual IP address of the device. Boom—you're in!
Securing Your SSH Connection: Lock It Down
Security is serious business when it comes to SSH for IoT devices. Here are some tips to keep your connection locked up tight:
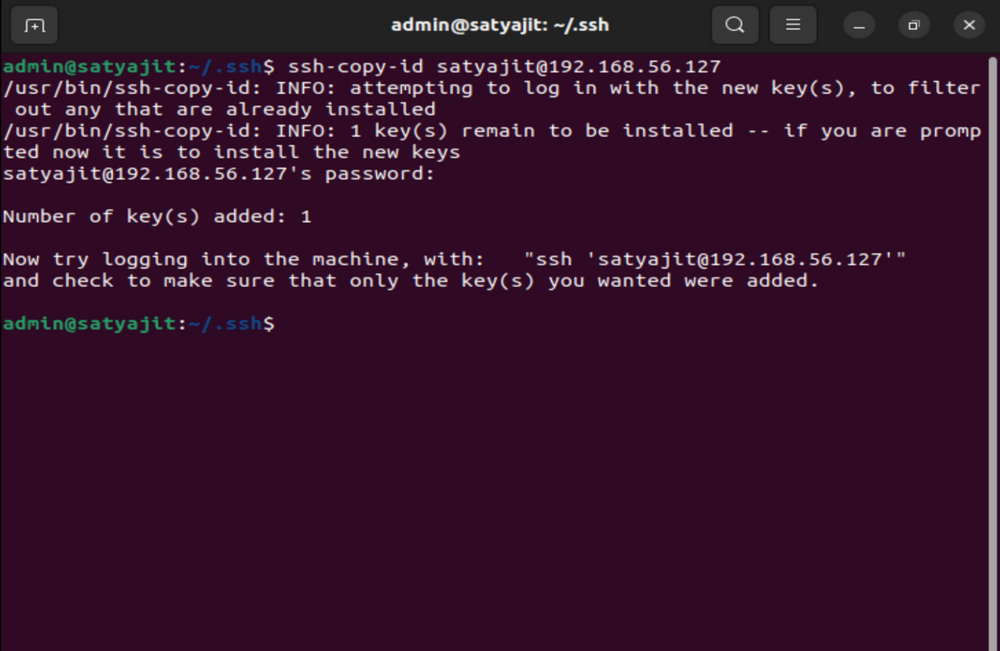
- Use SSH Keys: Ditch passwords and use SSH keys for stronger authentication. It's like using a bank vault instead of a basic lock.
- Disable Root Login: Don’t give attackers a golden ticket. Block direct root access to keep them guessing.
- Change Default Port: Why make it easy for hackers? Switch to a non-standard port to throw them off your trail.
- Firewall Configuration: Use your firewall to allow SSH access only from trusted IP addresses or networks.
Remote Access for IoT Devices: Taking Control
SSH lets you manage your IoT devices from anywhere, but there are a few tricks to make it even smoother:
- Dynamic DNS: Use a dynamic DNS service to keep track of your IoT devices, even if their IP addresses change.
- Port Forwarding: Tell your router to forward SSH traffic straight to your IoT device. It's like giving it a VIP pass.
- SSH Tunnels: Use SSH tunnels to securely access services running on your IoT device. It's like a private hotline.
By following these tips, you'll have seamless and secure remote access to your IoT devices in no time.
Troubleshooting Common Issues: Fixing the Hiccups
Even with the best setup, things can go wrong. Here are some common issues and how to fix them:
- Connection Refused: Double-check that the SSH service is running and you're using the right port. Sometimes, it's the little things.
- Authentication Failed: Make sure your username, password, or SSH key is correct. Typos happen to the best of us.
- Timeout Errors: Check your network connection and firewall settings. A weak link can break the chain.
Best Practices for Using SSH: Stay Sharp
To get the most out of SSH for your IoT devices, keep these best practices in mind:
- Regular Updates: Keep your SSH server and client software up to date. Old software is like an unlocked door for hackers.
- Monitor Logs: Regularly review SSH logs to spot any suspicious activity. Prevention is the best defense.
- Use Strong Passwords: If you must use password authentication, make sure they're strong and unique. Don't use "password123." Seriously.
Alternative Tools to SSH: Exploring Your Options
SSH is awesome, but there are other tools you might want to check out:
- Web-based Interfaces: Some IoT devices come with web-based management dashboards. They're easy to use and accessible from anywhere.
- MQTT: This lightweight messaging protocol is perfect for IoT communication. Think of it as a quick text message for devices.
- VPN: Virtual Private Networks create a secure tunnel for accessing devices on a private network. It's like having your own private club.
Conclusion: Wrapping It Up
Setting up SSH for IoT devices on Ubuntu and Windows is easier than you think. With SSH, you get rock-solid security, flexibility, and the freedom to manage your devices from anywhere—all for free. Follow this guide, and you'll be a remote management wizard in no time.
Now, it's your turn. Share your SSH adventures and tips in the comments below. And while you're at it, explore more articles on our site for even more IoT insights. Together, let's make the world smarter, safer, and more connected. Cheers!