Alright, listen up, friends. Drawing an octopus might seem like a tricky task at first, but trust me, with the right tips and techniques, even total beginners can create some seriously impressive artwork. Whether you're just starting out or looking to sharpen your skills, this guide is here to walk you through everything you need to know about mastering easy octopus drawing techniques. So grab your pencils, and let's dive headfirst into this creative adventure together!
Octopuses are truly fascinating creatures, full of unique shapes and textures that make them perfect for artistic exploration. By breaking down the process into simple, manageable steps, you'll quickly build confidence in your ability to bring these underwater wonders to life on paper. This guide is designed to help you not only improve your drawing skills but also enjoy every stroke of the way.
Whether you're aiming to become the next big artist or just want to relax and have fun while drawing, this guide will take you step-by-step through the basics and beyond. So let's get started and make some art happen!
Read also:Unpacking The Divas Flawless Leak A Story Beyond The Headlines
Table of Contents
- Introduction to Octopus Drawing
- Essential Tools for Beginners
- Basic Techniques for Drawing an Octopus
- Understanding Octopus Anatomy
- Step-by-Step Guide to Drawing an Octopus
- Adding Texture and Details
- Exploring Different Art Styles
- Tips for Improving Your Skills
- Common Mistakes to Avoid
- Recommended Resources for Beginners
Introduction to Octopus Drawing
Why the Octopus Should Be Your Next Art Project
Let's face it—octopuses are some of the coolest creatures on the planet. Their fluid movements, complex body structures, and downright quirky personalities make them incredible subjects for artistic expression. By learning how to draw an octopus, you're not just honing your skills; you're opening yourself up to a world of creativity that can translate into all kinds of art projects.
Understanding the anatomy and behavior of octopuses will give you a deeper appreciation for their unique qualities and help you create more lifelike drawings. In this section, we'll explore why octopuses are such inspiring subjects and how they can fuel your artistic journey. Let's give these underwater geniuses the artistic spotlight they deserve!
Essential Tools for Beginners
What You Need to Get Started
Before we jump into the nitty-gritty of octopus drawing, let's talk about what you'll need to get started. Having the right tools is like having the right gear for a road trip—it makes the journey smoother and more enjoyable. Here's a list of essentials for mastering easy octopus drawing techniques:
- Pencils (different grades, like 2B, 4B, and 6B)
- Erasers (both kneaded and standard for precision)
- A good sketchbook or high-quality drawing paper
- Blending tools like stumps or tortillons for smooth shading
- Colored pencils or markers (optional, but great for adding pops of color)
Investing in the right materials will make a huge difference in your learning experience and the overall quality of your artwork. Trust me, it's worth it!
Basic Techniques for Drawing an Octopus
Building a Strong Foundation
Okay, let's break it down. To draw an octopus that truly stands out, you'll need to master some fundamental drawing techniques. These basics will serve as the foundation for all your future artwork. Here's what you need to focus on:
- Proportional Sketching: Learn how to balance the size of the head, arms, and body to create a realistic octopus.
- Shading and Highlighting: Use light and shadow to give your octopus depth and dimension. This is where it really starts to look alive.
- Line Variation: Experiment with different line thicknesses to add interest and texture to your drawing.
These techniques might sound intimidating, but with regular practice, they'll become second nature. The key is consistency. Keep practicing, and you'll see improvement in no time!
Read also:Unpacking The Truth Michelle Obama And The Gsa Payment Controversy
Understanding Octopus Anatomy
Getting to Know the Octopus Inside and Out
To draw an octopus that looks convincing, you need to understand its anatomy. Think of it like learning the rules before you break them. Here are the key features you'll want to focus on:
- Head and Mantle: The head is where all the action happens. It's the largest part of the octopus and contains its brain, eyes, and beak.
- Eight Arms with Suckers: Each arm is covered in tiny suckers, which not only help the octopus grip objects but also add texture to your drawing.
- Webbing Between Arms: This delicate webbing connects the arms and gives the octopus its signature flowing appearance.
Studying real-life images or videos of octopuses in action will give you a better understanding of their anatomy. It's like taking a crash course in marine biology, but way cooler!
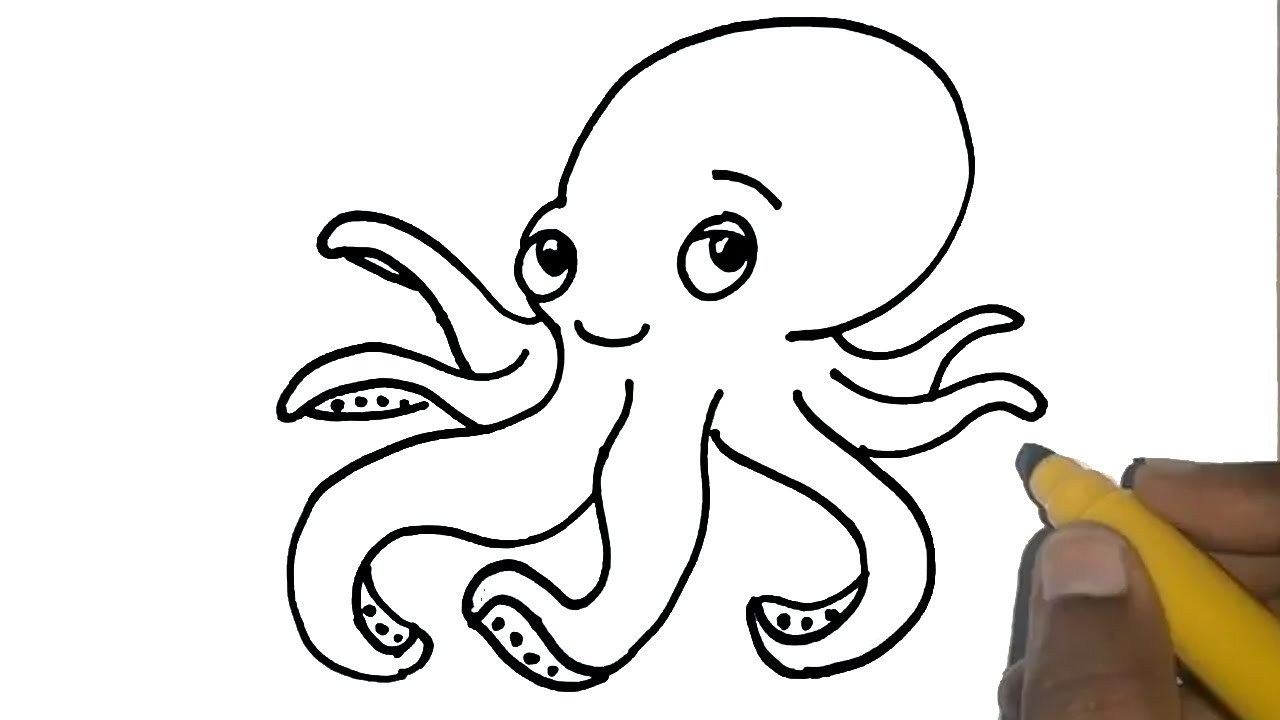
Step-by-Step Guide to Drawing an Octopus
Follow These Steps for Success
Now that you've got the basics down, let's dive into a step-by-step guide to drawing an octopus. Here's how you do it:
- Start by sketching the basic shape of the head and mantle. Think of it as the octopus's control center.
- Add guidelines for the eight arms. Don't worry about perfection at this stage—these are just placeholders.
- Refine the arm shapes, paying special attention to the suckers and webbing. This is where your drawing starts to take shape.
- Outline the final form and erase any unnecessary guidelines. You're cleaning up the canvas for the next step.
- Shade and add texture to bring your octopus to life. This is where the magic happens!
By following these steps, you'll create a well-proportioned and detailed octopus drawing that'll impress even the toughest critics (looking at you, mom).
Adding Texture and Details
Take Your Octopus Drawing to the Next Level
Texture is what separates a good drawing from a great one. Here are a few tips to help you bring your octopus to life:
- Cross-Hatching: Use overlapping lines to create shading effects that mimic the octopus's natural skin texture.
- Suckers: Add small circles along the arms to represent the octopus's powerful suckers. These little details go a long way!
- Wrinkles and Folds: Incorporate subtle wrinkles and folds to give your octopus a more realistic appearance. Think of it like drawing the octopus's personality.
These details might seem small, but they're what make your drawing stand out. So take your time and enjoy the process!
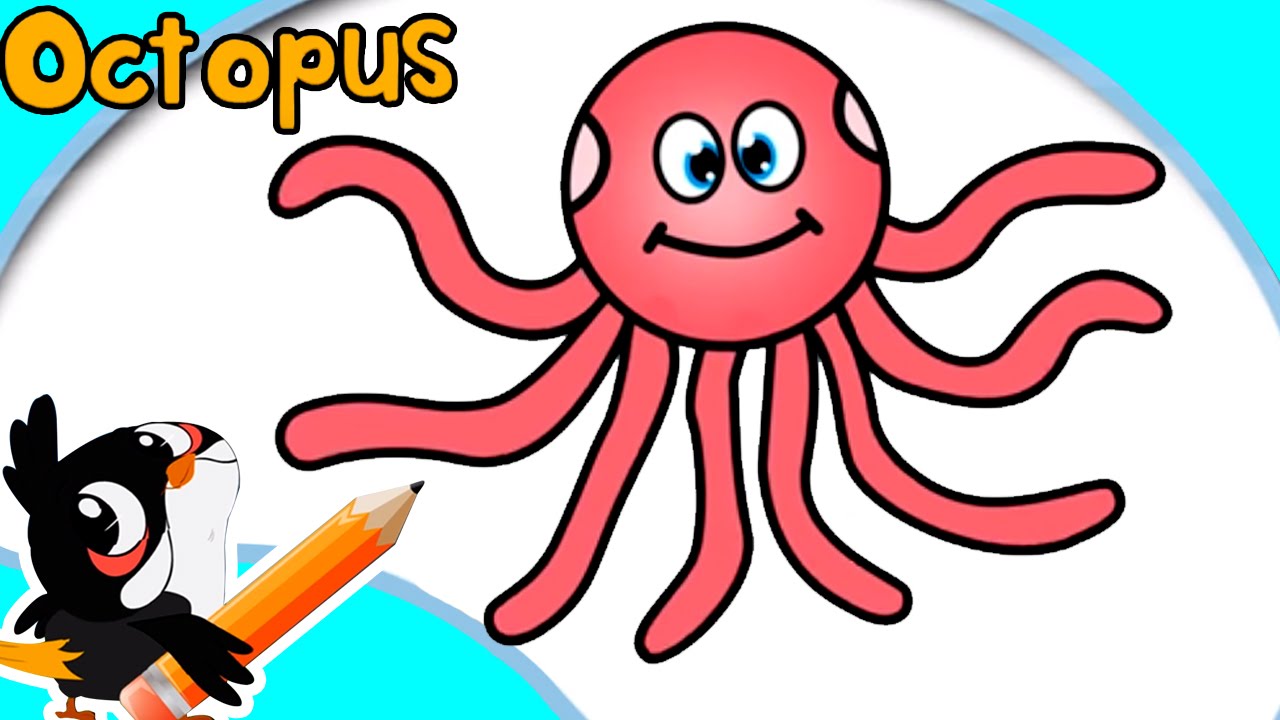
Exploring Different Art Styles
Let Your Creativity Flow
Once you've mastered the basics, it's time to experiment with different art styles. Here are a few to try:
- Realism: Focus on precise details and textures to create a lifelike octopus that looks like it could swim off the page.
- Cartoon: Simplify shapes and add playful expressions to create a fun and whimsical octopus. Perfect for kids or just letting your inner child shine.
- Abstract: Use bold colors and patterns to create a unique interpretation of the octopus. This is where you can really let your imagination run wild.
Exploring different styles will not only expand your artistic repertoire but also keep your creativity flowing. Don't be afraid to try new things—you might surprise yourself!
Tips for Improving Your Skills
Level Up Your Drawing Game
Here are a few tips to help you take your octopus drawing skills to the next level:
- Practice Regularly: Like any skill, drawing takes practice. Set aside time each day to work on your craft and build muscle memory.
- Study Reference Images: Look at real-life octopuses to understand their proportions and textures. Pinterest and Google Images are your best friends here.
- Experiment with Mediums: Try out different tools, like watercolors or digital drawing, to find what works best for you. Variety is the spice of life, right?
Consistent practice and exploration will lead to significant improvements in your artistic abilities. So keep at it, and don't forget to have fun along the way!
Common Mistakes to Avoid
Avoid These Pitfalls and Stay on Track
As a beginner, it's easy to fall into a few common traps. Here's how to avoid them:
- Ignoring Proportions: Make sure the head and arms are balanced. A lopsided octopus might look cute, but it won't look realistic.
- Overcomplicating Details: Start with simple shapes and gradually add complexity. You don't want to overwhelm yourself—or your octopus.
- Skipping Shading: Shading adds depth and makes your drawing more realistic. Don't skip this step—it's what brings your art to life!
Being aware of these potential pitfalls will help you create better, more polished artworks. Remember, practice makes perfect!
Recommended Resources for Beginners
Level Up Your Learning with These Awesome Tools
Here are a few resources to help you on your artistic journey:
- ArtStation: A platform where professional artists share their work and tutorials. It's like a goldmine for inspiration.
- DeviantArt: A vibrant community where you can share your art and get feedback from fellow creators. Think of it as your online art gallery.
- YouTube Tutorials: Step-by-step video guides that walk you through various techniques. You'll find something for every skill level.
These resources will provide you with additional guidance and inspiration as you continue to develop your skills. So dive in and start exploring!
Kesimpulan
Mastering the art of drawing an octopus might sound challenging, but with dedication and practice, it's totally achievable. By understanding the basics, studying anatomy, and applying different techniques, you'll be creating stunning, lifelike octopus drawings in no time. Remember to experiment with different styles and always seek inspiration from trusted sources.
We'd love to see your progress and hear about your experiences. Share your artworks in the comments section below and inspire others on their artistic journey. And don't forget to check out our other articles for more creative tips and tutorials!
Happy drawing, and remember—art is all about having fun and expressing yourself. Keep creating, and you'll be amazed at what you can achieve!